
5-Minute Artisan Bread: The Easiest Homemade Bread Recipe
If making homemade bread sounds like one of those things that requires a full afternoon, a sourdough starter you have to keep alive, and way more patience than you currently have, this recipe is for you.
This is the bread recipe I keep coming back to because the actual hands-on work takes about five minutes. You mix everything together, let the dough rise, and then keep it in the fridge until you’re ready to make bread.
No kneading. No complicated steps. And somehow you still end up with that crispy, golden outside and soft, chewy center that makes homemade bread so good.
The recipe makes enough dough for about two loaves, and you can keep the dough refrigerated for up to two weeks. So instead of making bread from scratch every time you want it, you can just grab some dough, shape it, and bake it.
That is my kind of homemade bread.
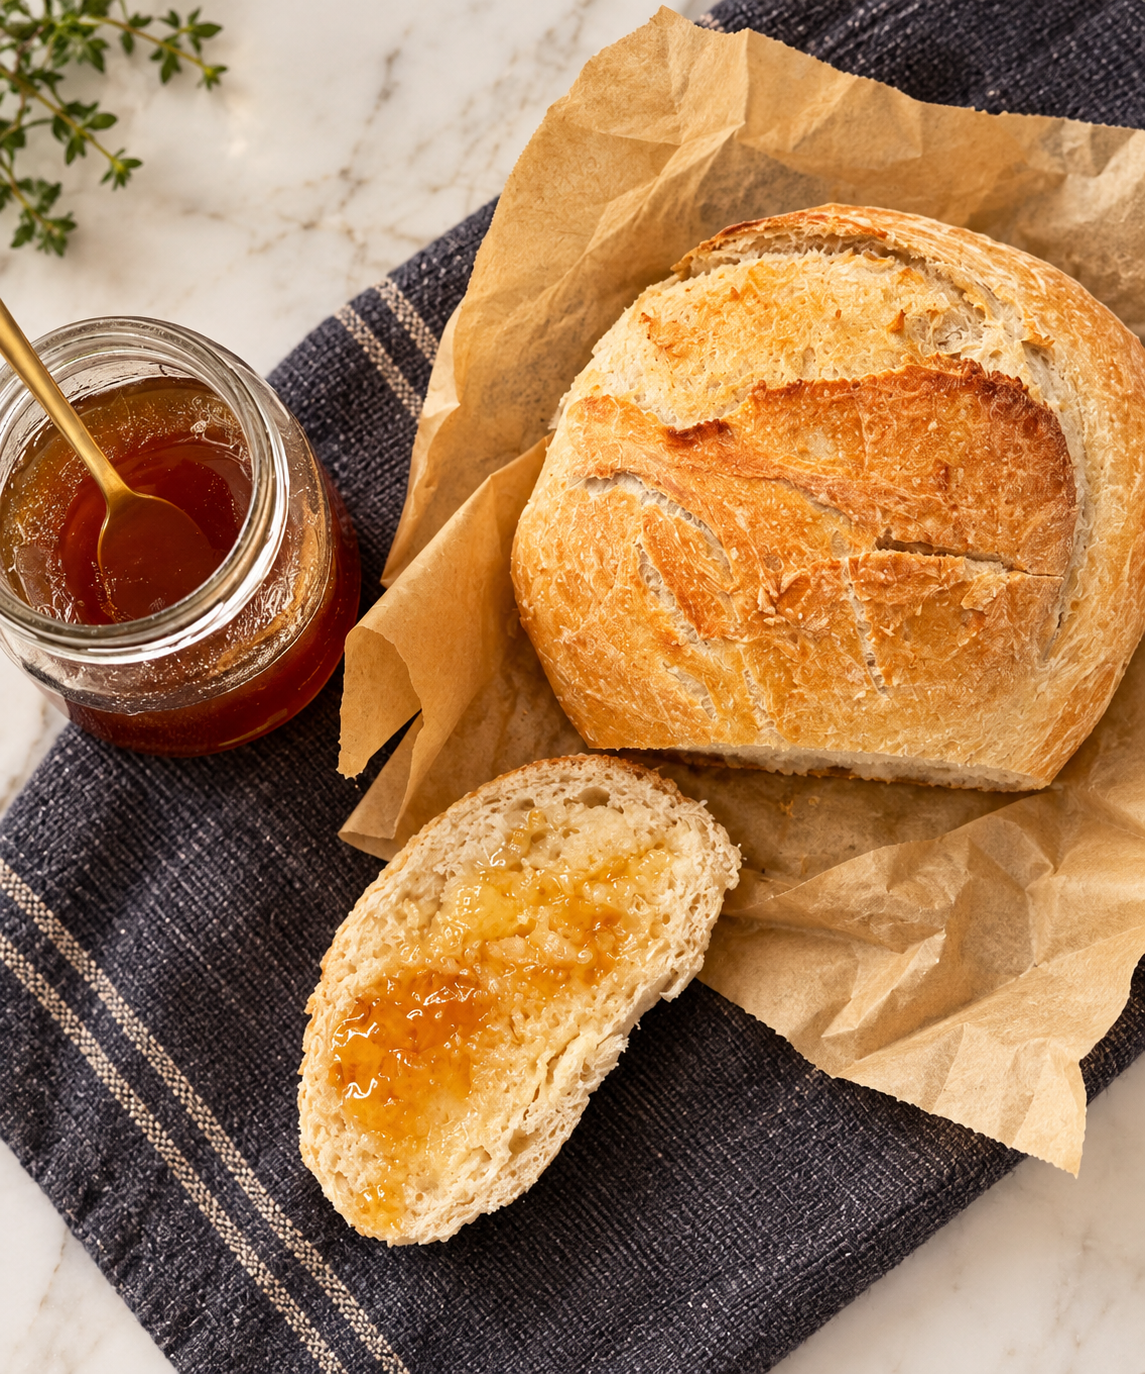
Artisan bread loaf with honey
Why You'll Love This Easy Artisan Bread
The biggest reason I love this recipe is how little effort it takes.
There’s no kneading and no mixer required, and you only need four basic ingredients. The dough also keeps in the refrigerator for up to 14 days, which means you can make the dough once and have fresh bread throughout the week.
And once it's baked, you get that really good combination of a crispy crust with a soft, chewy inside.
We usually eat ours warm with butter and honey, and honestly, that alone is reason enough to make it.
Ingredients
You only need four ingredients:
3 cups lukewarm water
1 tablespoon yeast
1½ tablespoons salt
6½ cups all-purpose flour
That’s it.
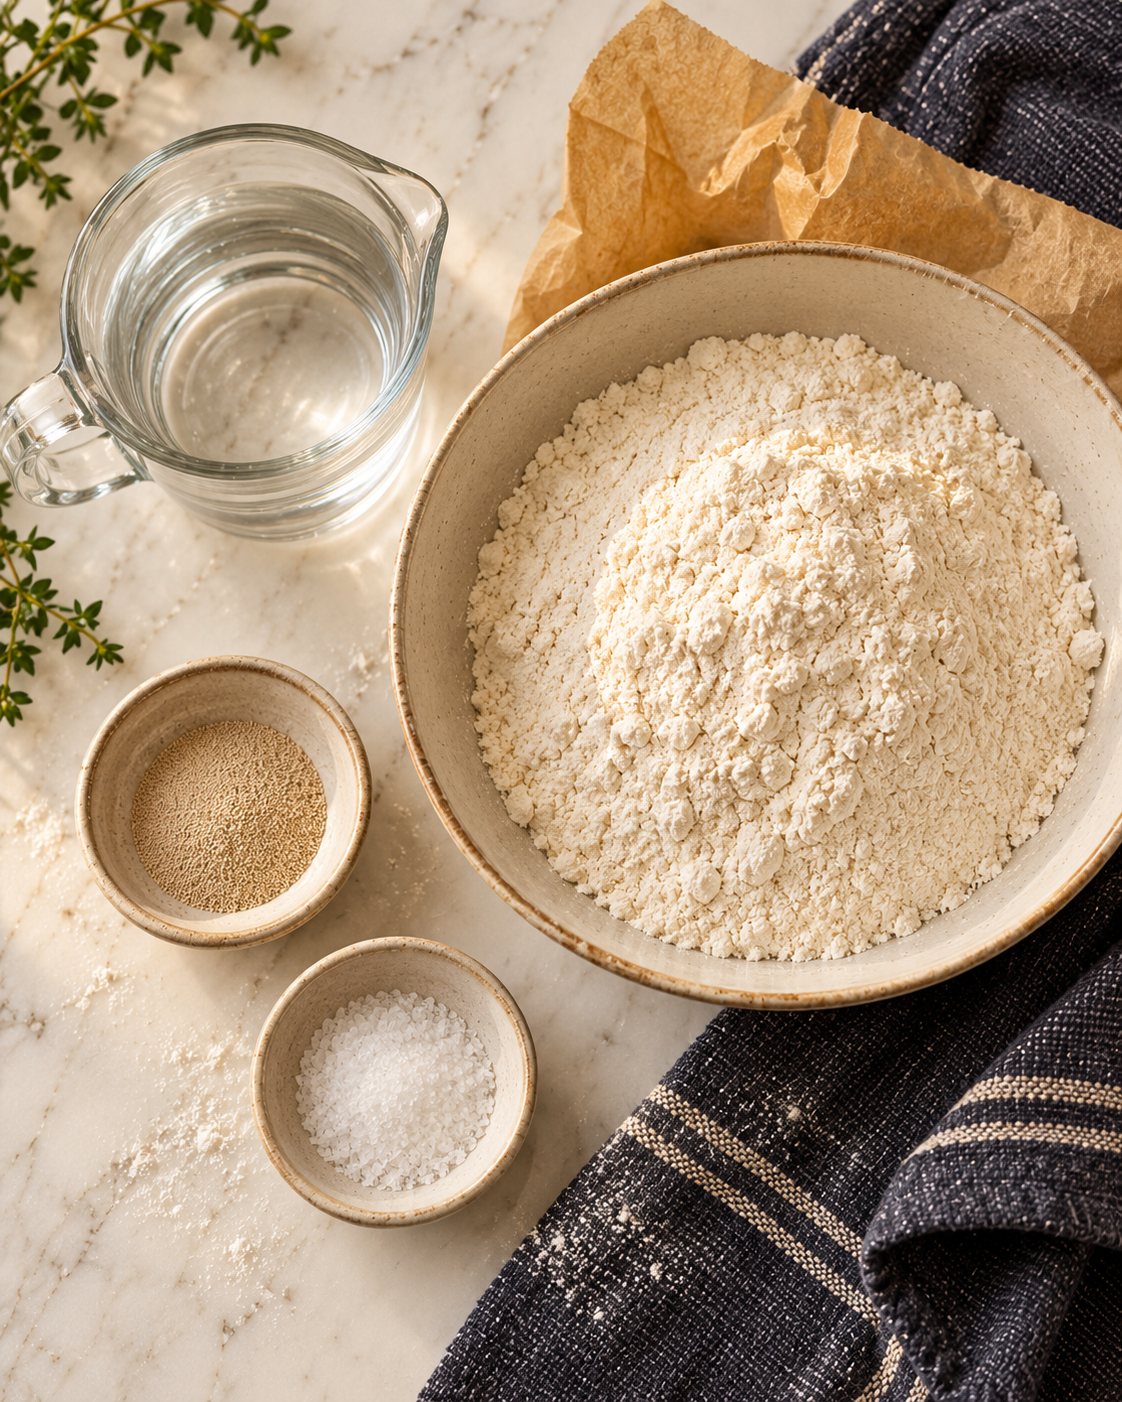
Ingredients
How to Make 5-Minute Artisan Bread
Make the dough
Place the flour into a large bowl or container with a lid.
In a separate bowl or measuring cup, combine the lukewarm water, yeast, and salt.
Pour the water mixture into the flour and stir until everything is combined and there are no dry spots remaining.
You do not need to knead the dough.
Let the dough rise
Cover the bowl loosely with the lid and leave the dough on the counter for about 2–3 hours, or until it has approximately doubled in size.
Once the dough has risen, place it in the refrigerator.
You can keep the dough refrigerated for up to 14 days, so you don't have to bake both loaves at once.
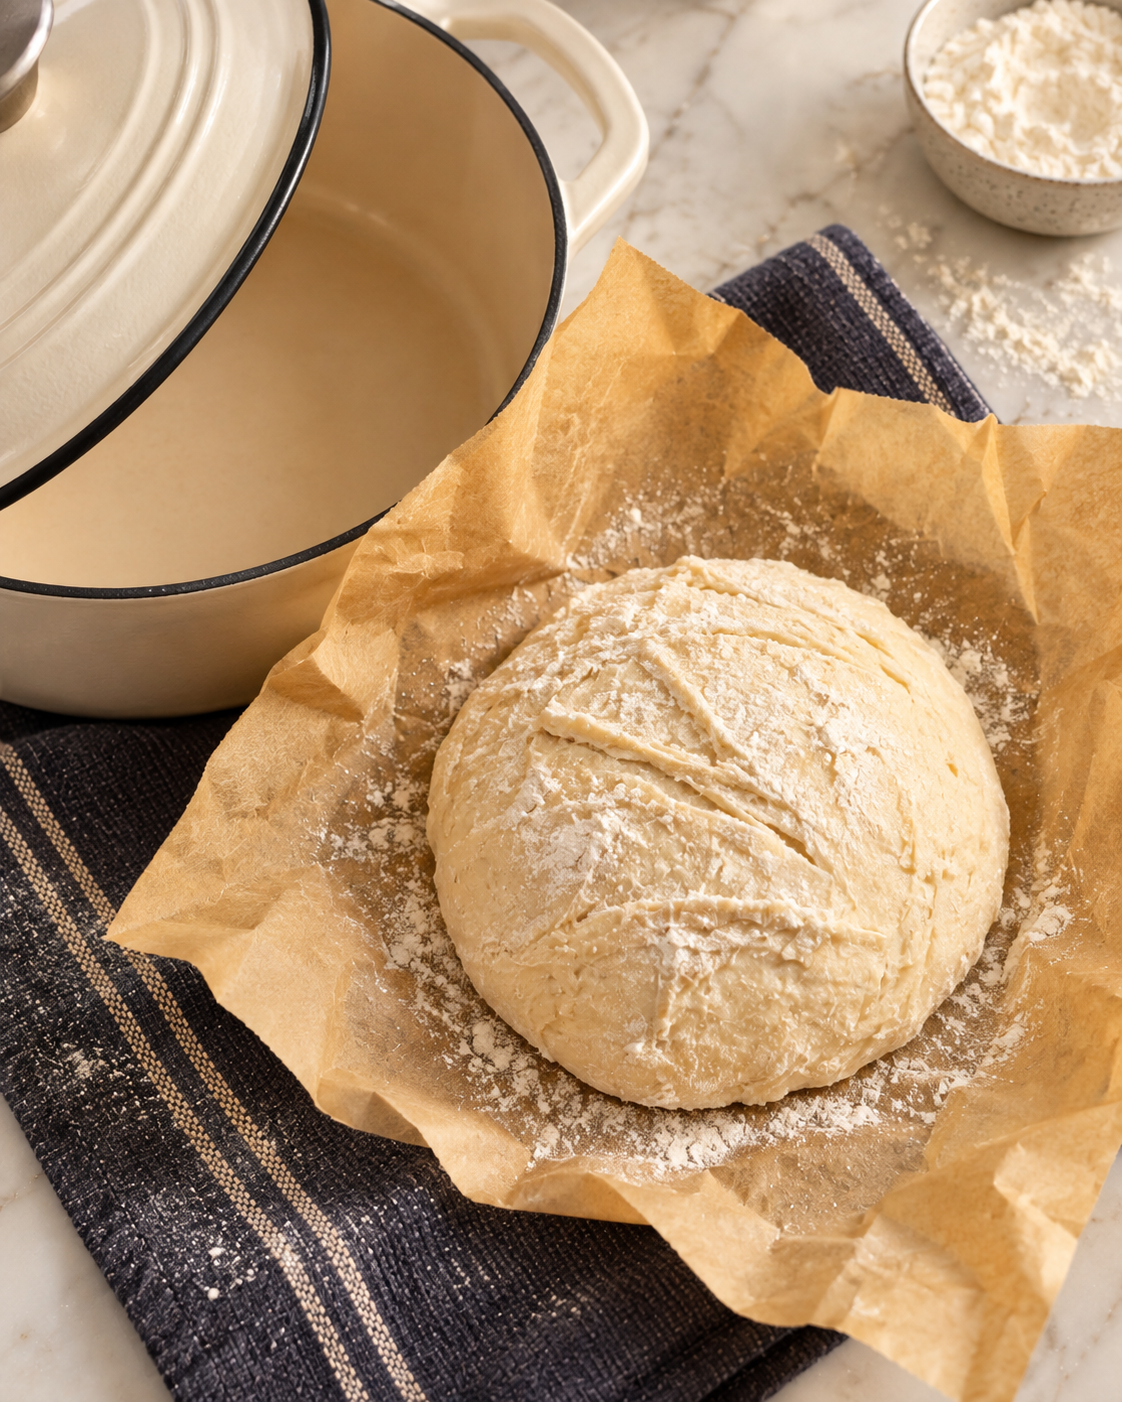
Dough ready for the oven
When You're Ready to Bake
When you're ready for fresh bread, remove approximately half of the dough from the container.
With clean hands, gently shape the dough into a ball.
Try not to overwork it. One of the best parts about this recipe is that it does not have to look perfect.
Let the shaped dough rest while you preheat the oven and Dutch oven.
Before baking, use a sharp knife or bread lame to make a few shallow cuts across the top of the dough. This is called scoring the bread. The cuts give the dough a controlled place to expand as it bakes, helping prevent random cracks and creating that rustic artisan-style split on top.
Baking the Bread
Preheat your oven with the Dutch oven inside so the pot gets nice and hot.
Carefully place the shaped dough into the hot Dutch oven.
Cover with the lid and bake until the bread is cooked through, then remove the lid toward the end if needed to allow the crust to become golden brown and crispy.
Bake for approximately 30–40 minutes total, depending on your oven and the size of your loaf. My oven usually takes about 40 minutes, but you can also speed up the time by taking off the lid of your dutch oven. I don’t recommend doing this until about 10 minutes before your bread is done which can give it a nice golden color.
The bread is ready when the outside is beautifully golden and crisp.
Let it cool slightly before slicing.
Or do what we do and cut into it while it's still warm because waiting for fresh bread to cool is asking a lot.
A Few Tips for the Best Artisan Bread
Your water should be lukewarm rather than hot. Water that's too hot can interfere with the yeast.
Don't worry if the dough is sticky. This is a wetter artisan-style dough and it doesn't need to look like a perfectly smooth traditional bread dough.
Also, don't add a bunch of extra flour just because the dough feels sticky. That can make your finished bread more dense.
And definitely give the Dutch oven time to preheat. Starting with a hot Dutch oven is part of what helps give the loaf that crispy artisan-style crust.
Can I Make the Dough Ahead of Time?
Yes — that's actually one of the best parts of this recipe.
After the initial rise, you can refrigerate the dough for up to 14 days.
Whenever you want bread, simply pull out enough dough for a loaf, shape it, and bake it.
The recipe makes approximately two loaves, so you can make one now and save the remaining dough for another day.
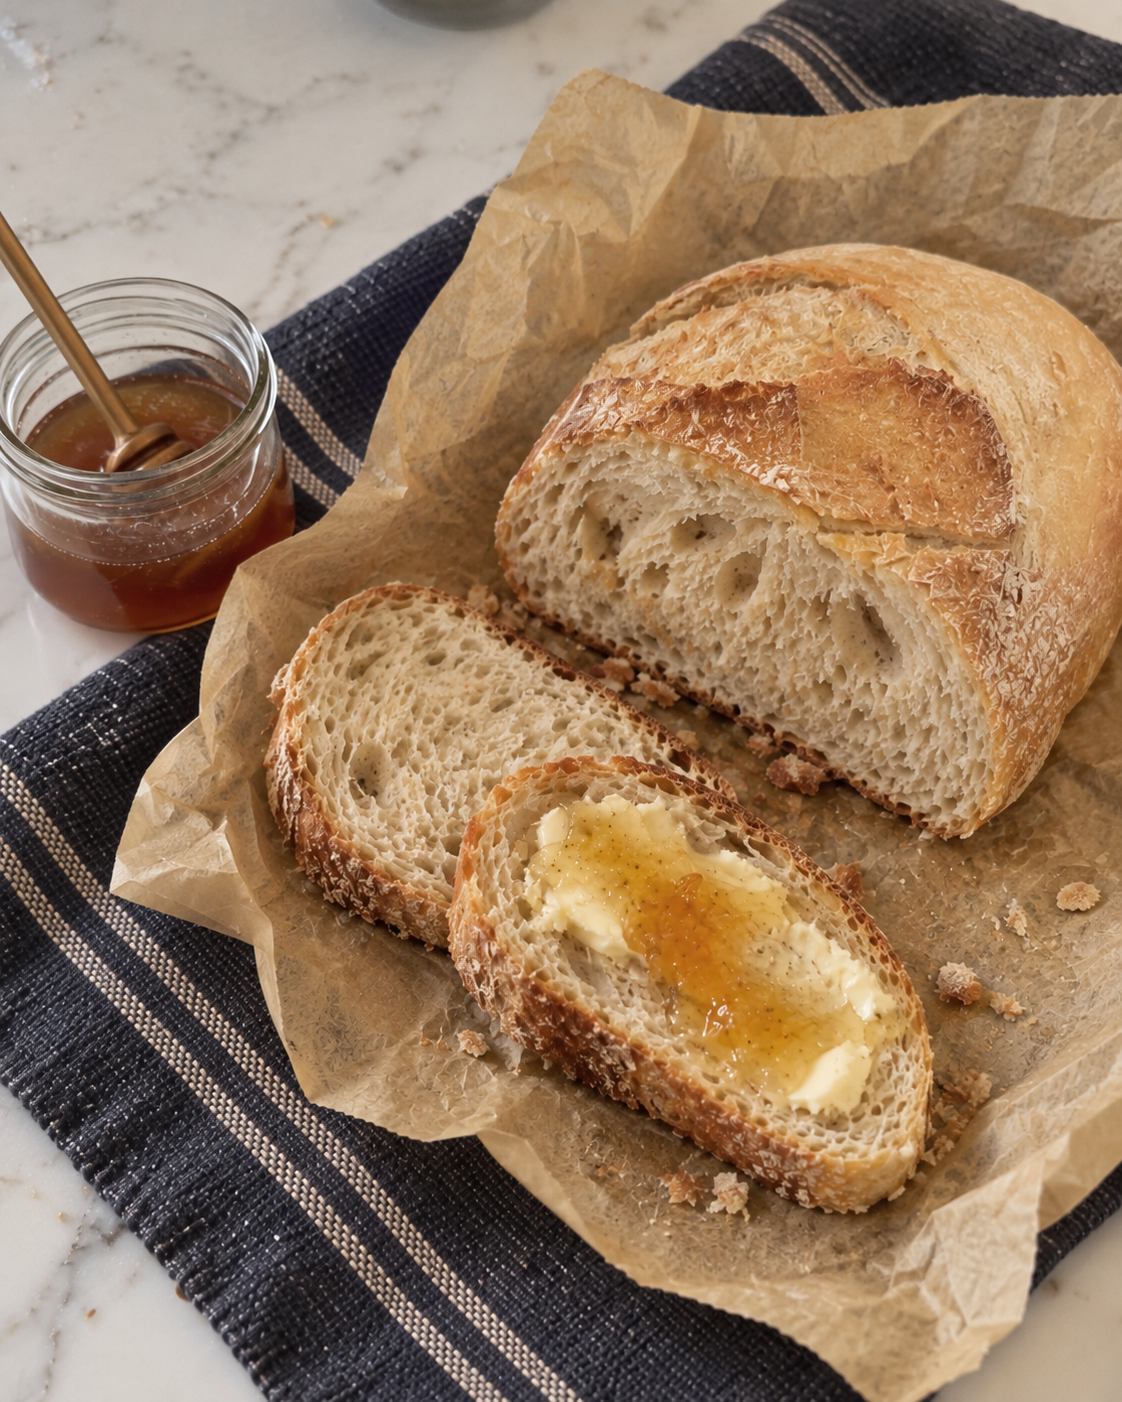
5-Minute Artisan Bread Recipe
Prep Time: 5 minutes
Rise Time: 2–3 hours
Bake Time: Approximately 30–40 minutes
Yield: 2 loaves
Ingredients
3 cups lukewarm water
1 tablespoon yeast
1½ tablespoons salt
6½ cups all-purpose flour
Instructions
Add the flour to a large bowl or container with a lid.
Combine the lukewarm water, yeast, and salt.
Pour the water mixture into the flour.
Stir until combined and no dry flour remains. There is no need to knead the dough.
Cover loosely and allow the dough to sit at room temperature for approximately 2–3 hours, or until doubled in size.
Refrigerate the dough for up to 14 days.
When ready to bake, remove approximately half of the dough and gently shape it into a ball.
Preheat your oven with a Dutch oven inside.
Carefully place the dough into the hot Dutch oven and cover.
Bake for approximately 30–40 minutes, or until the inside is baked through and the outside is golden brown and crispy.
Allow to cool slightly before slicing and serving.
I hope you love this recipe as much as I do! It’s simple yet delicious bread you can make anytime. Let me know if you try it. I promise it’s fool proof and you don’t have to be an expert at all to make it. The first time I did, it came out perfect, so give it a try!
